前言
好久没来更新博客,一是近期的状态不好,也被一些琐碎的事缠着,导致没能好好学习。
在上一篇的博客中记录了linux环境下elasticsearch的安装,比较简单,解压既可。es是分布式的搜索服务框架,只是在单机上跑体现不出它的优势,所以这篇主要来记录一下es6.x的集群搭建、以及head插件的安装。实验的环境:Ubuntu 、节点IP:10.1.13.32 10.1.13.27、elasticsearch6.x
集群的搭建
在上一篇中,在32的服务器,已经搭建好了es服务,只要按部就班,在27上也搭起来即可,主要是修改elasticsearch.yml配置文件即可。
1 | # ---------------------------------- Cluster ----------------------------------- |
把两台节点的es服务开起来, 浏览器查看http://10.1.13.32:9200/_cluster/health?pretty 看到下面的结果就表示集群搭建完毕。

head插件安装
head的插件功能可以方便我们在浏览器操作es,虽然没有solr那样的清爽的界面,但是该有的功能都具备。在安装这个插件的过程中,遇到挺多的问题,所以在这里也要记录一下。在安装head插件之前,需要先安装node,npm,grunt。head插件的运行是依赖于grunt的,而grunt的安装依赖于npm。
安装node
下载node的压缩包、解压开1
2
3wget https://npm.taobao.org/mirrors/node/latest-v4.x/node-v4.5.0-linux-x64.tar.gz
tar -zxvf node-v4.5.0-linux-x64.tar.gz
配置下环境变量vim /etc/profile,NODE_HOME /usr/local/填写你解压开的node路径1
2
3export NODE_HOME=/usr/local/node-v4.5.0-linux-x64
export PATH=$PATH:$NODE_HOME/bin/
export NODE_PATH=$NODE_HOME/lib/node_modules
执行 source /etc/profile让配置生效1
source /etc/profile
输入node -v 查看是否安装成功1
2jintx@jintx-virtual-machine:~$ node -v
v4.5.0
安装npm
1 | npm install -g cnpm --registry=https://registry.npm.taobao.org |
npm -v查看是否安装成功1
2jintx@jintx-virtual-machine:~$ npm -v
2.15.9
安装grunt
1 | npm install -g grunt |
安装grunt-cli模块1
npm install -g grunt-cli --registry=https://registry.npm.taobao.org --no-proxy
查看是否安装成功1
2root@jintxserver:/usr/local/elasticsearch/elasticsearch-6.2.3# grunt -version
grunt-cli v1.2.0
head插件下载
下载head源码1
wget https://github.com/mobz/elasticsearch-head/archive/master.zip
解压master.zip得到elasticsearch-head-master文件夹1
unzip master.zip
进入elasticsearch-head-master目录,执行下面命令1
npm install
这时候目录下会多出一个node_modules的文件夹,修改head的配置文件Gruntfile.js,找到connect:server,添加hostname一项,如下1
2
3
4
5
6
7
8
9
10connect: {
server: {
options: {
hostname: '0.0.0.0',
port: 9100,
base: '.',
keepalive: true
}
}
}
在head目录下,启动head服务1
2
3
4root@jintxserver:/usr/local/elasticsearch-head-master# grunt server
Running "connect:server" (connect) task
Waiting forever...
Started connect web server on http://localhost:9100
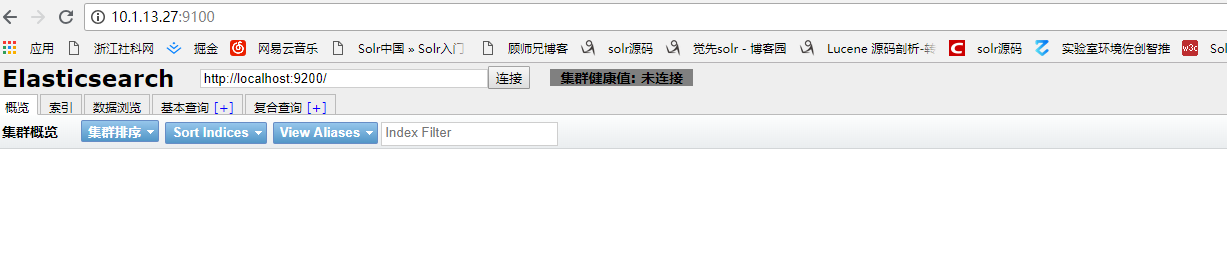
浏览器输入 http://10.1.13.27:9100/ 看到下面的界面即成功。